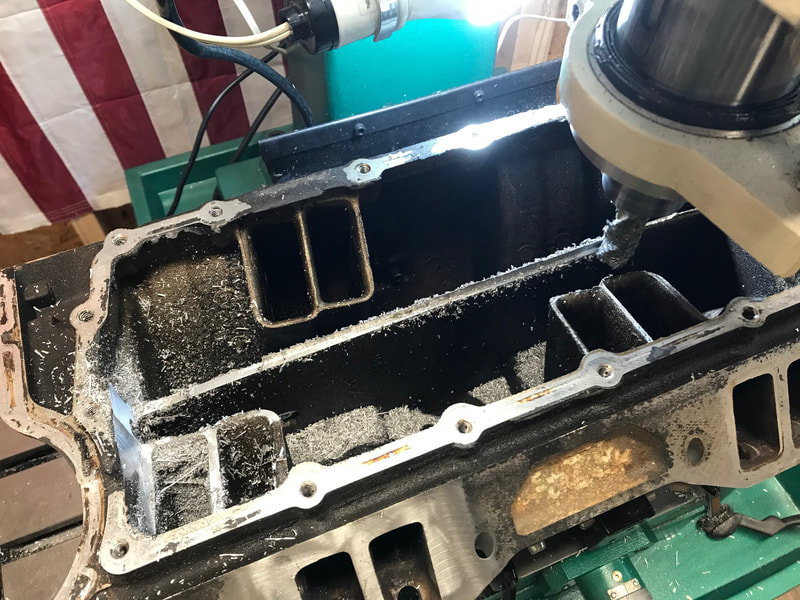
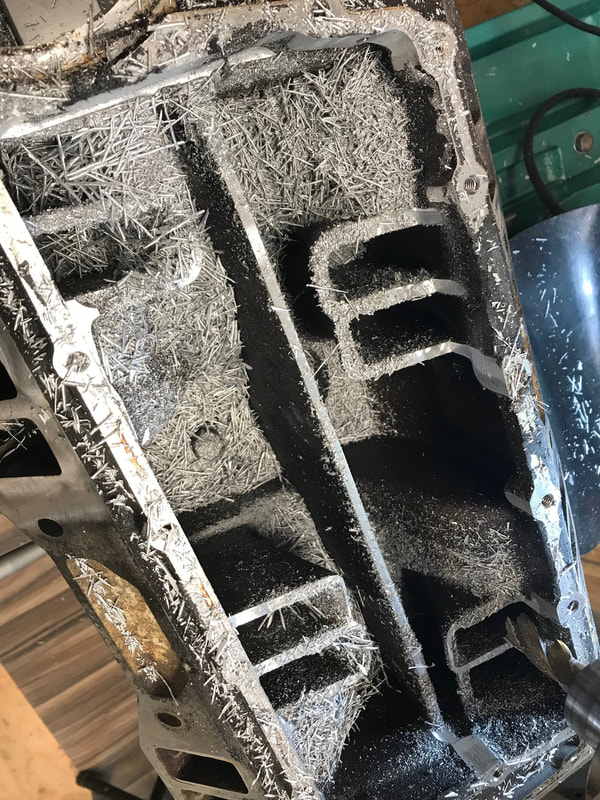
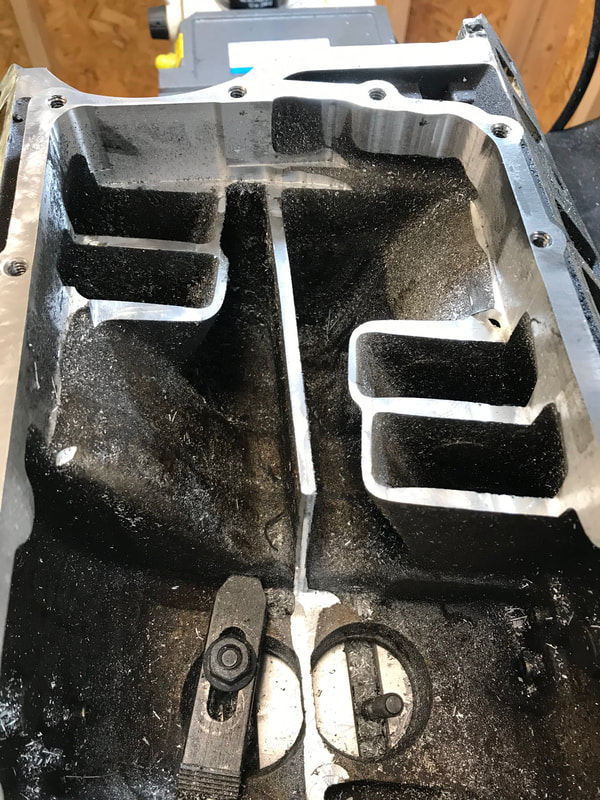
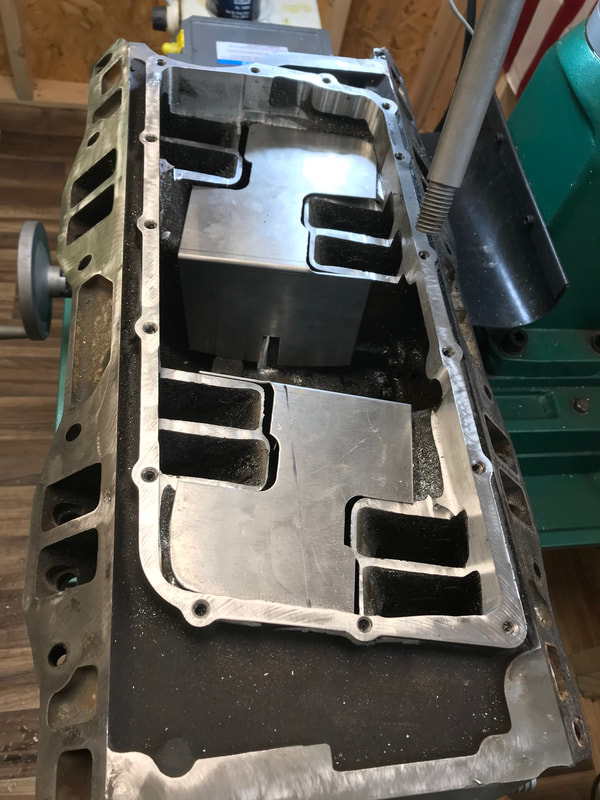
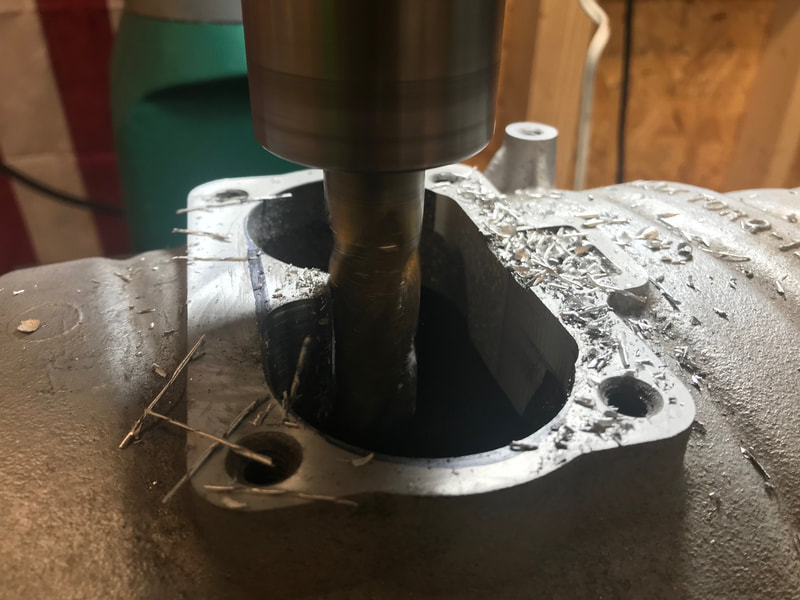
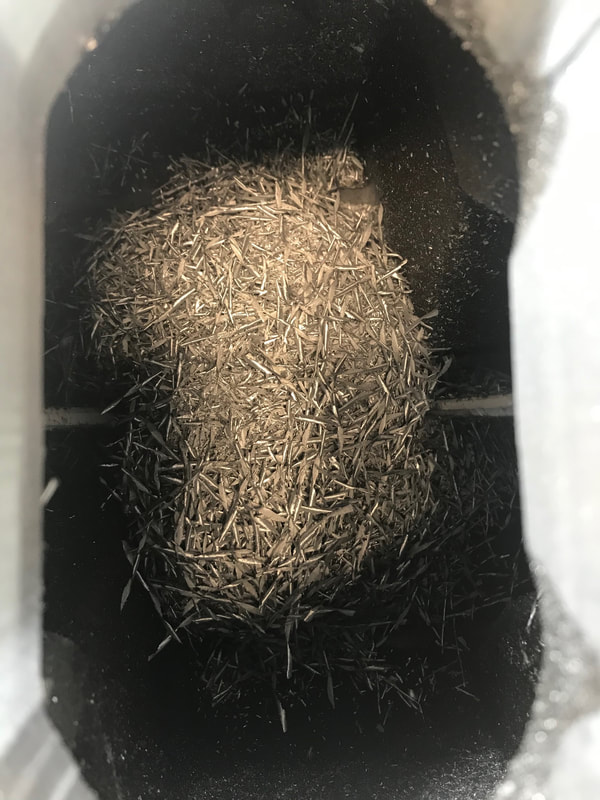
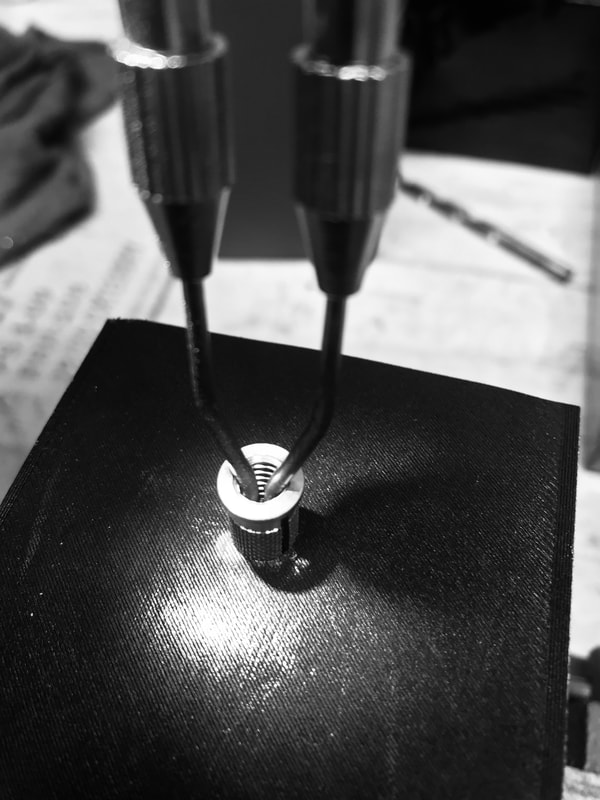
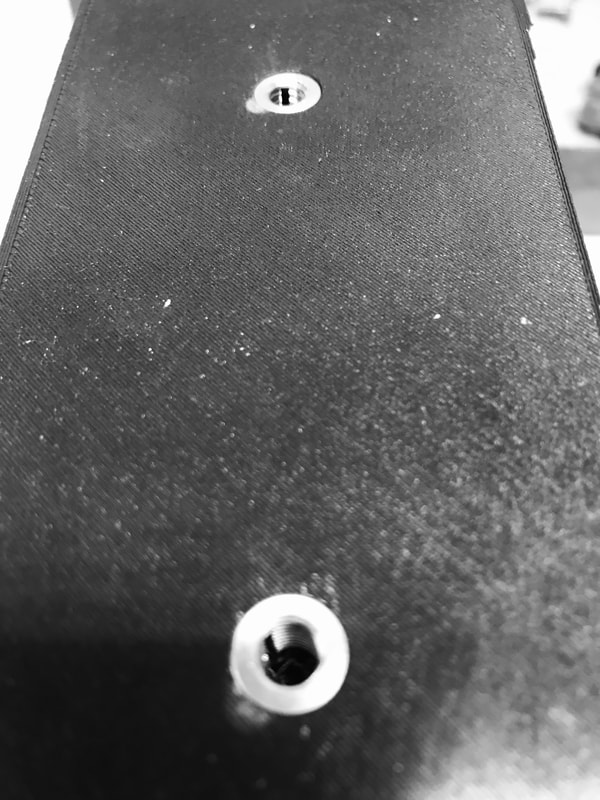
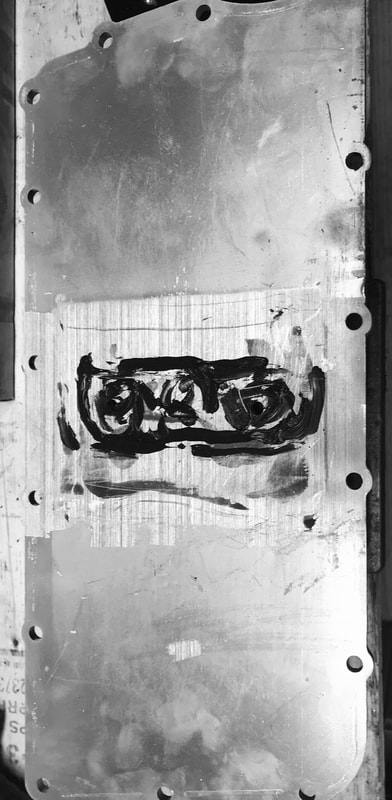
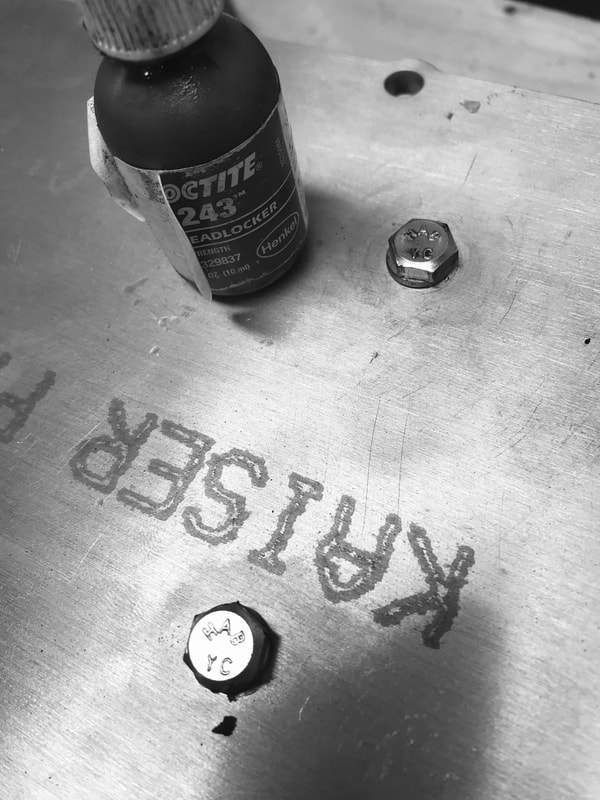
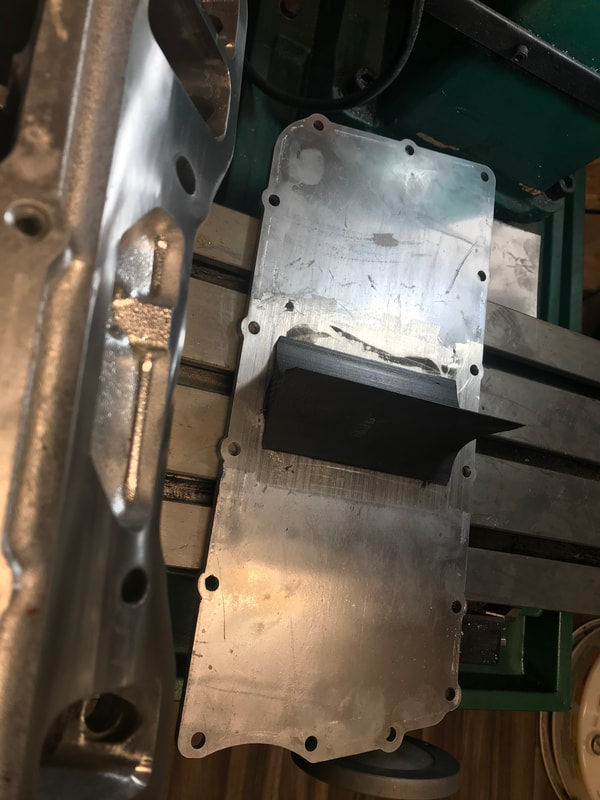
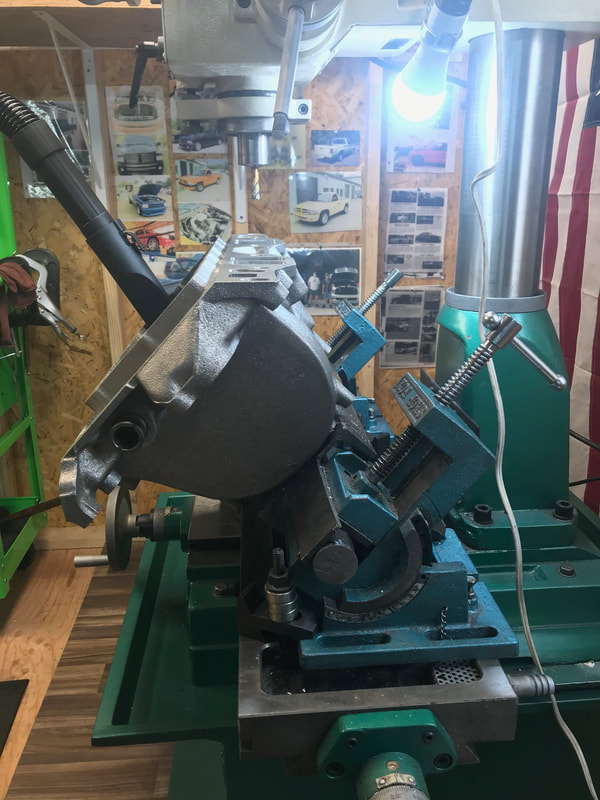
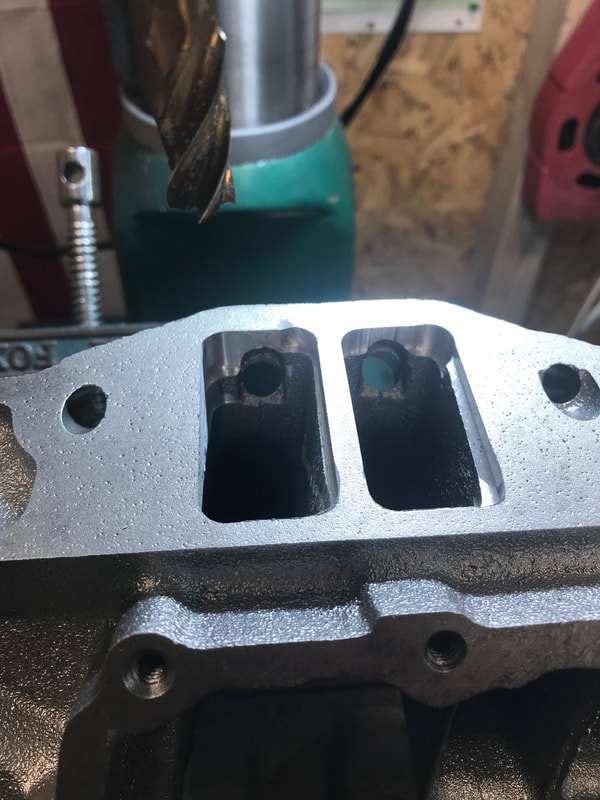
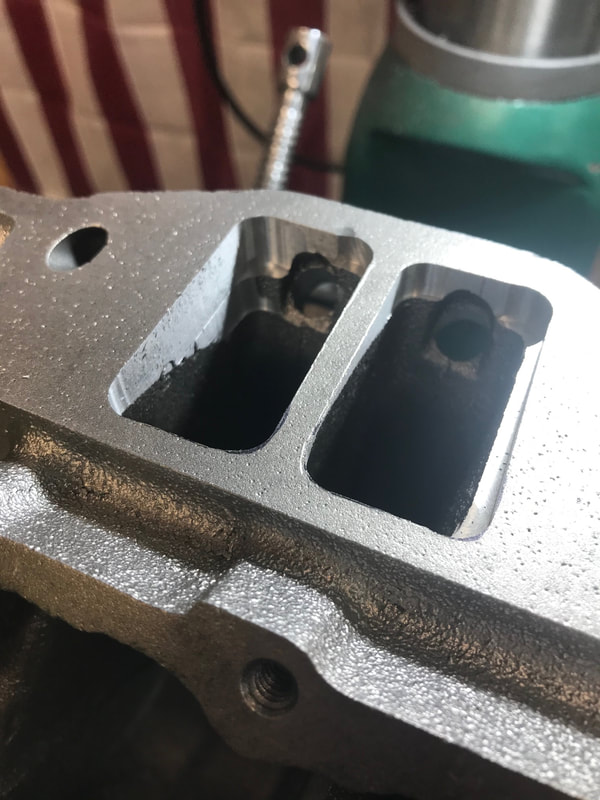
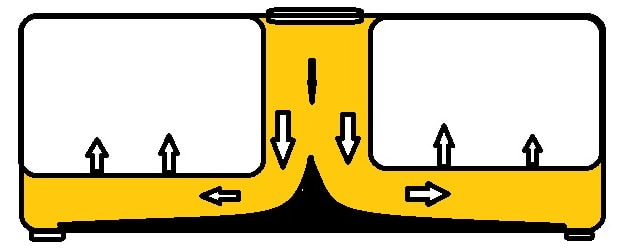
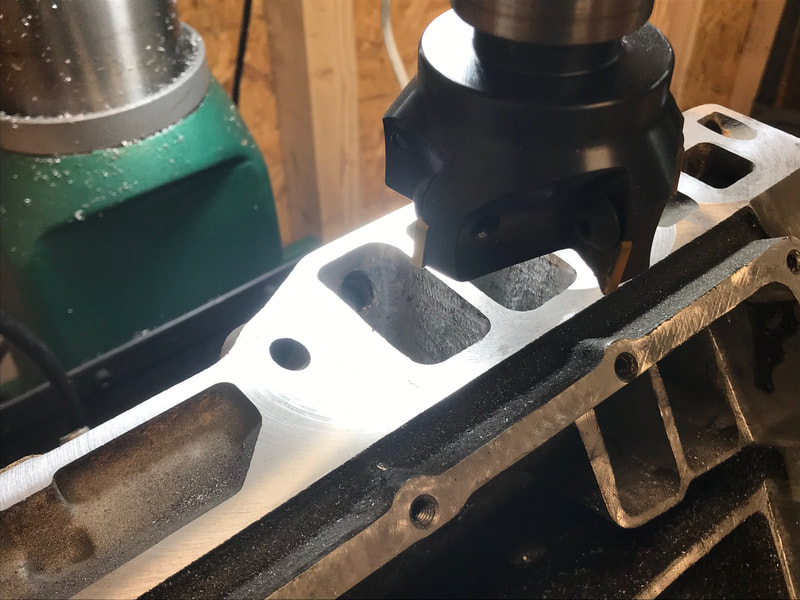
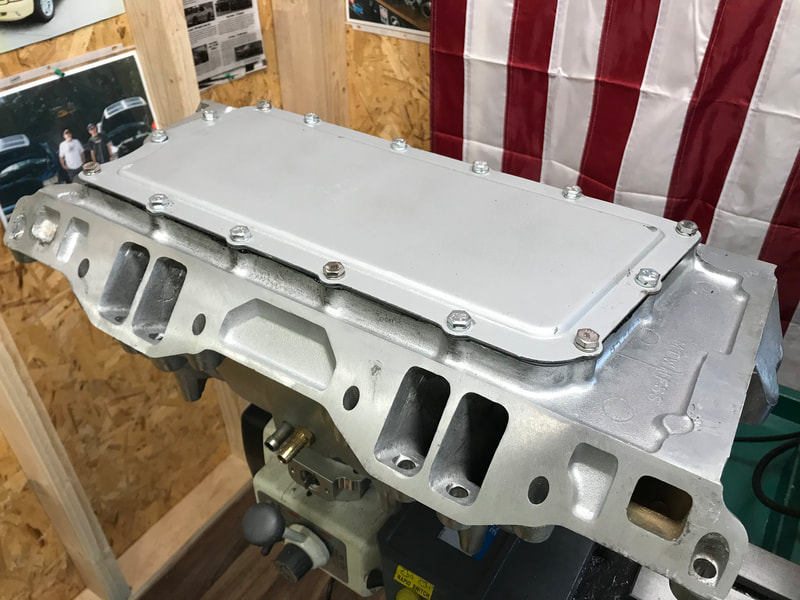
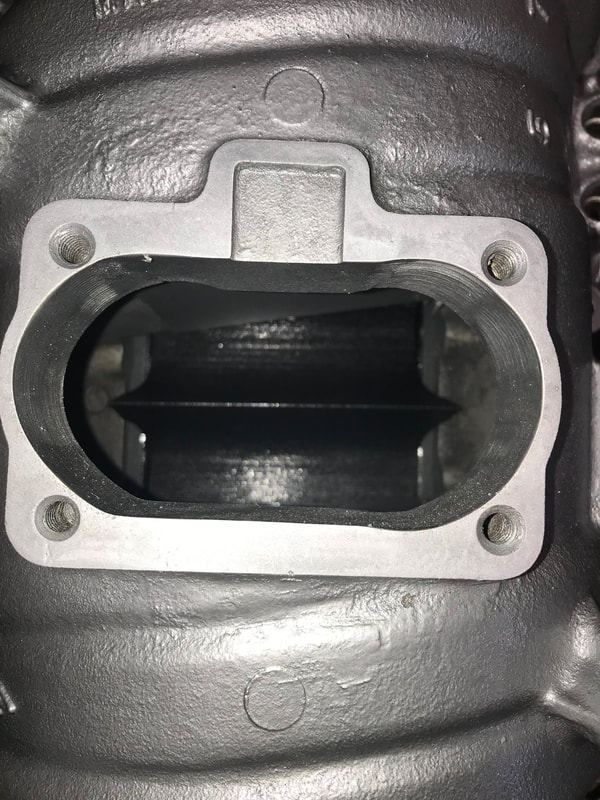
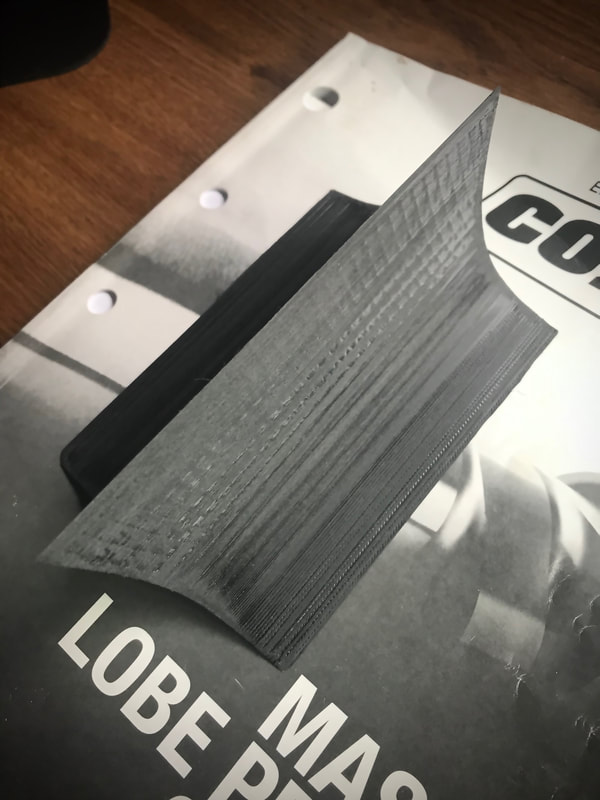
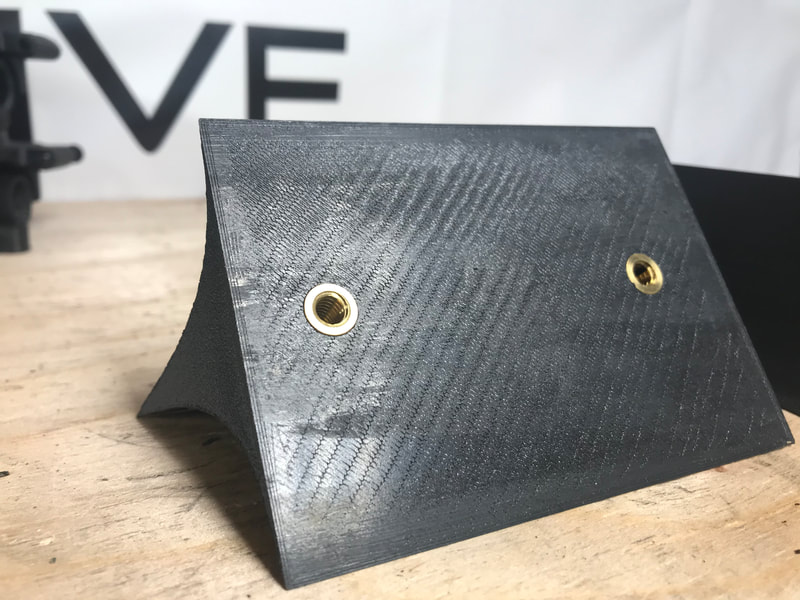
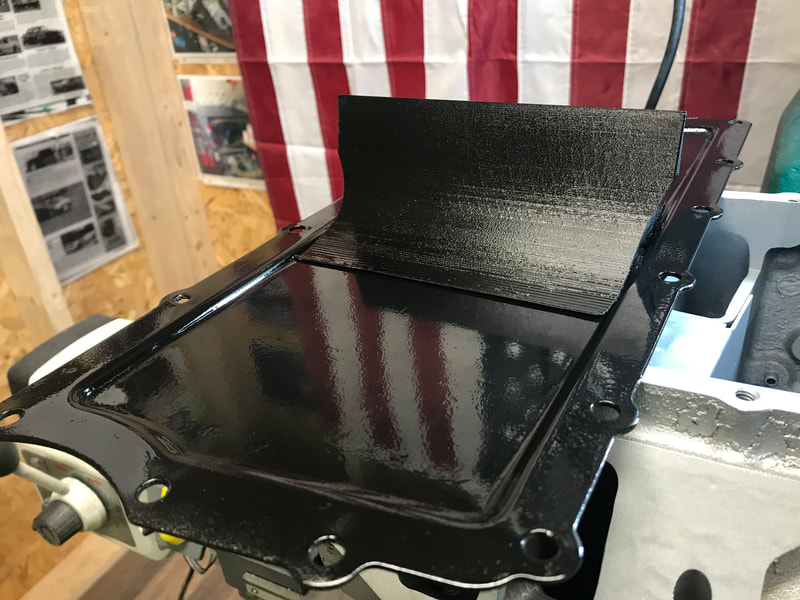
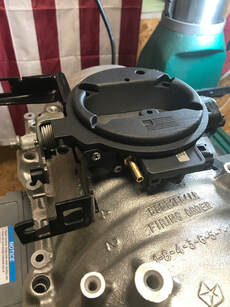
 This blog is to send out some info on the machine work I perform on the stock intake manifolds. I start with finding the rpm range the customer wants. Once that is determined (camshaft, compression vehicle weight) I find out what heads they are running. Usually Performance Injection Equipment will tell me the port intake size of the customers heads if they have ordered from them. Otherwise, I set to a standard EQ or Edelbrock port. Whether the intake they send to me is egr or non egr divider or not, I then base my calculations for runner length. The intake will then be setup for the VRP plates and wedge divider to reduce the volume of the 6000ccs and increase the port velocity. On the milling machine, the manifold is bolted to a custom rotisserie jig I manufactured to hold the intake in place. After I tram the mill, the work on the intake port starts. The top 9/16 hole mount for the alternator bracket is the first to go. It is taken down flush with the fuel injector rail boss so the manifold will sit flush during the process. I normally open the intake ports to a 2.3" by 1" squared port. From there, the manifold is flipped and the work on the inside runners and VRP mounts begin. I actually prefer the divider now as it supports the VRP horizontally. First the divider is opened up in the throat under the TB, then the sidewalls for the plenum are squared up. The runner length is set normally to 14" which is flush with the VRP plates. I then drill an tap 8/32 holes for securing the VRPs. Once that major rough is done, then it is onto the port widening. Most heavy shaping is done with a 6" plunge mill ball end. When done from both sides, I switch over to the electric dremel and the aluminum burrs. The key is staying on the top side of the port for increasing the diameter. The low side is simply cleaned up and using a long 60 grit sanding tape, the hump is smoothed. The walls are worked until I have an area in the top part of the port that crosses 1/2" from both sides. Cartridge rolls are the final smoothing process. I spend anywhere from 12 to 18 hours for all this work. The shop vac is in the ports keeping the mess to a minimum. Once the finish is complete, the main inlet port then gets opened up just like any M1 inlet, but larger to accommodate the new 108mm monoblade throttle body seen above. The easy part is next, the manifold is then surface milled on the intake sides and then tanked and cleaned. Once out of the wash, the VRPs are installed, edges RTV'd and the plenum wedge is ready to install. The debate is whether to install the wedge at a matching 30 degree angle or simply perpendicular on the belly pan. I install it perpendicular. That is how I have dynoed and may experiment later with clocking it, but for now, horizontal. I measure the end to center from the throat and install the wedge centered on the plate. I use 150 grit sandpaper to smooth the layer build lines in the Wedge, and then clean. I mark the 1/4-20 holes, drill them, apply RTV under the wedge, lock down the wedge with (was red) Green LocTite, then make sure no RTV squeeze out has shown. The Wedge is larger at the top compared to the lower, so installing the plenum plate with a fresh gasket and skim coat of RTV requires angling the wedge plate slightly to install the plate. Shorter stainless bolts are installed with Loctite Red and lock washers. The manifold is quick cleaned and set aside for a 500 degree coat of Silver paint. The key to this manifold is keeping the velocity high, matching runner length to the combo and opening up the ports to match your head CFM. Stock they flow in the 170-180 cfm range. Stock magnum heads make 210-215 easily, your intake cannot feed them. Perform the work below and you can match your 290 cfm ported heads easily!
0 Comments
Leave a Reply. |
Marty FletcherHands on engine builder and tuner for Dodge since 1993. Archives
July 2023
Categories |
